Overview
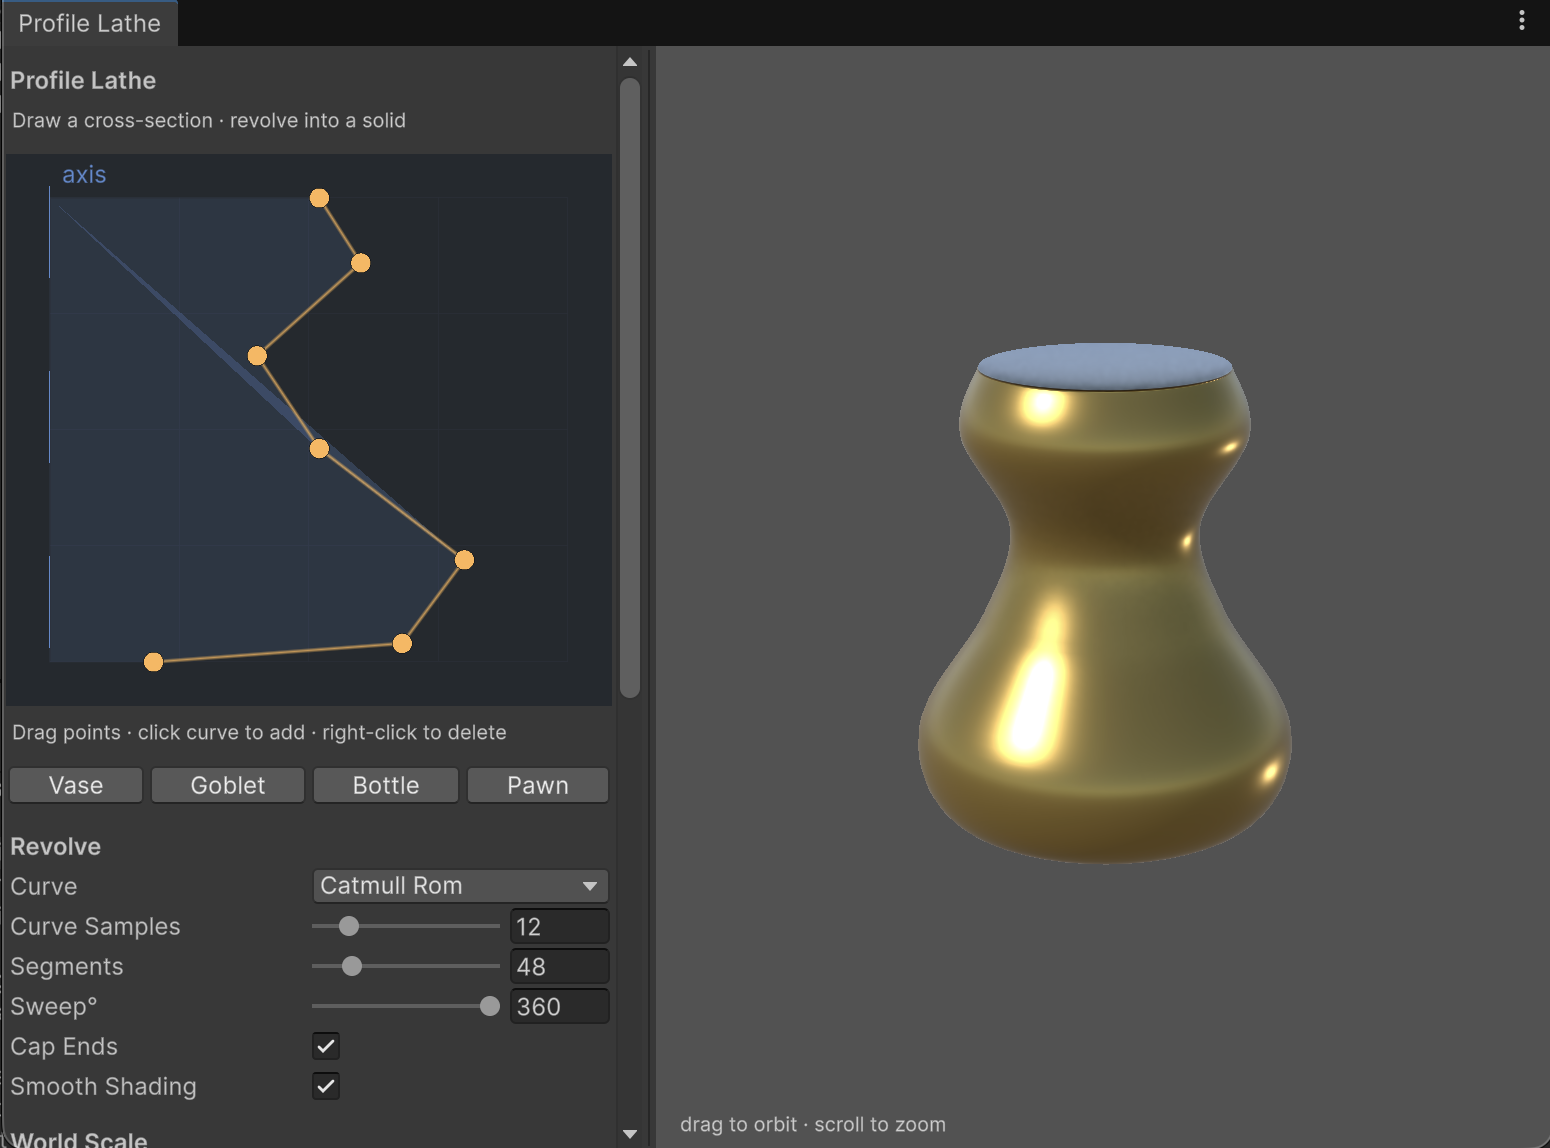
Profile Lathe is a Unity editor tool for building solids of revolution —
vases, goblets, bottles, chess pieces, turned columns. You draw a 2D
cross-section, and the tool revolves it around the vertical axis into a
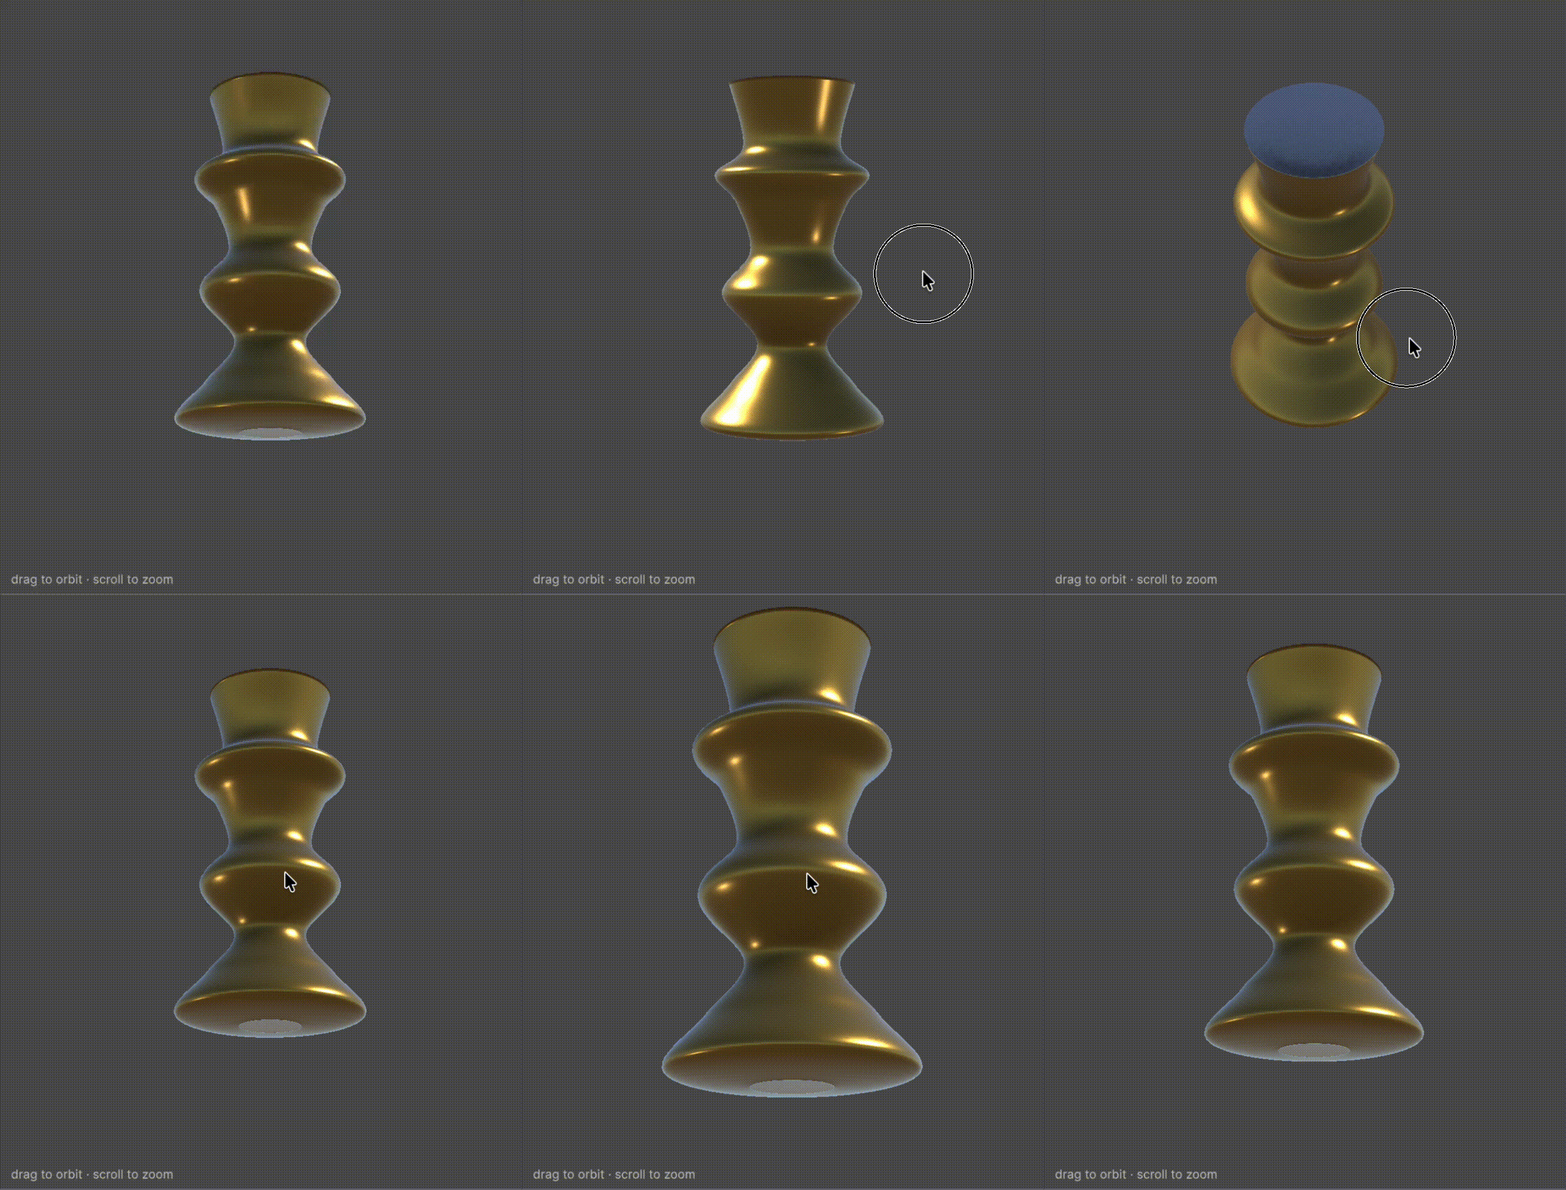
watertight mesh, updating a live preview as you edit. When you’re happy, it
exports a mesh asset, material, and prefab ready to drop into a scene.
The goal was to keep a fundamentally 2D problem — a curve spun around an axis —
inside the engine, instead of round-tripping through a DCC tool for shapes that
don’t need one.
Design decisions
Runtime / Editor split The geometry lives in a render-pipeline-agnostic runtime layer that never touches
editor or asset APIs; the editor layer is purely the authoring UI on top of it.
That separation means the mesh generation can be driven from a build script or at
runtime without the window — the tool is one consumer of the core, not the core
itself.
A custom profile editor, not a property list
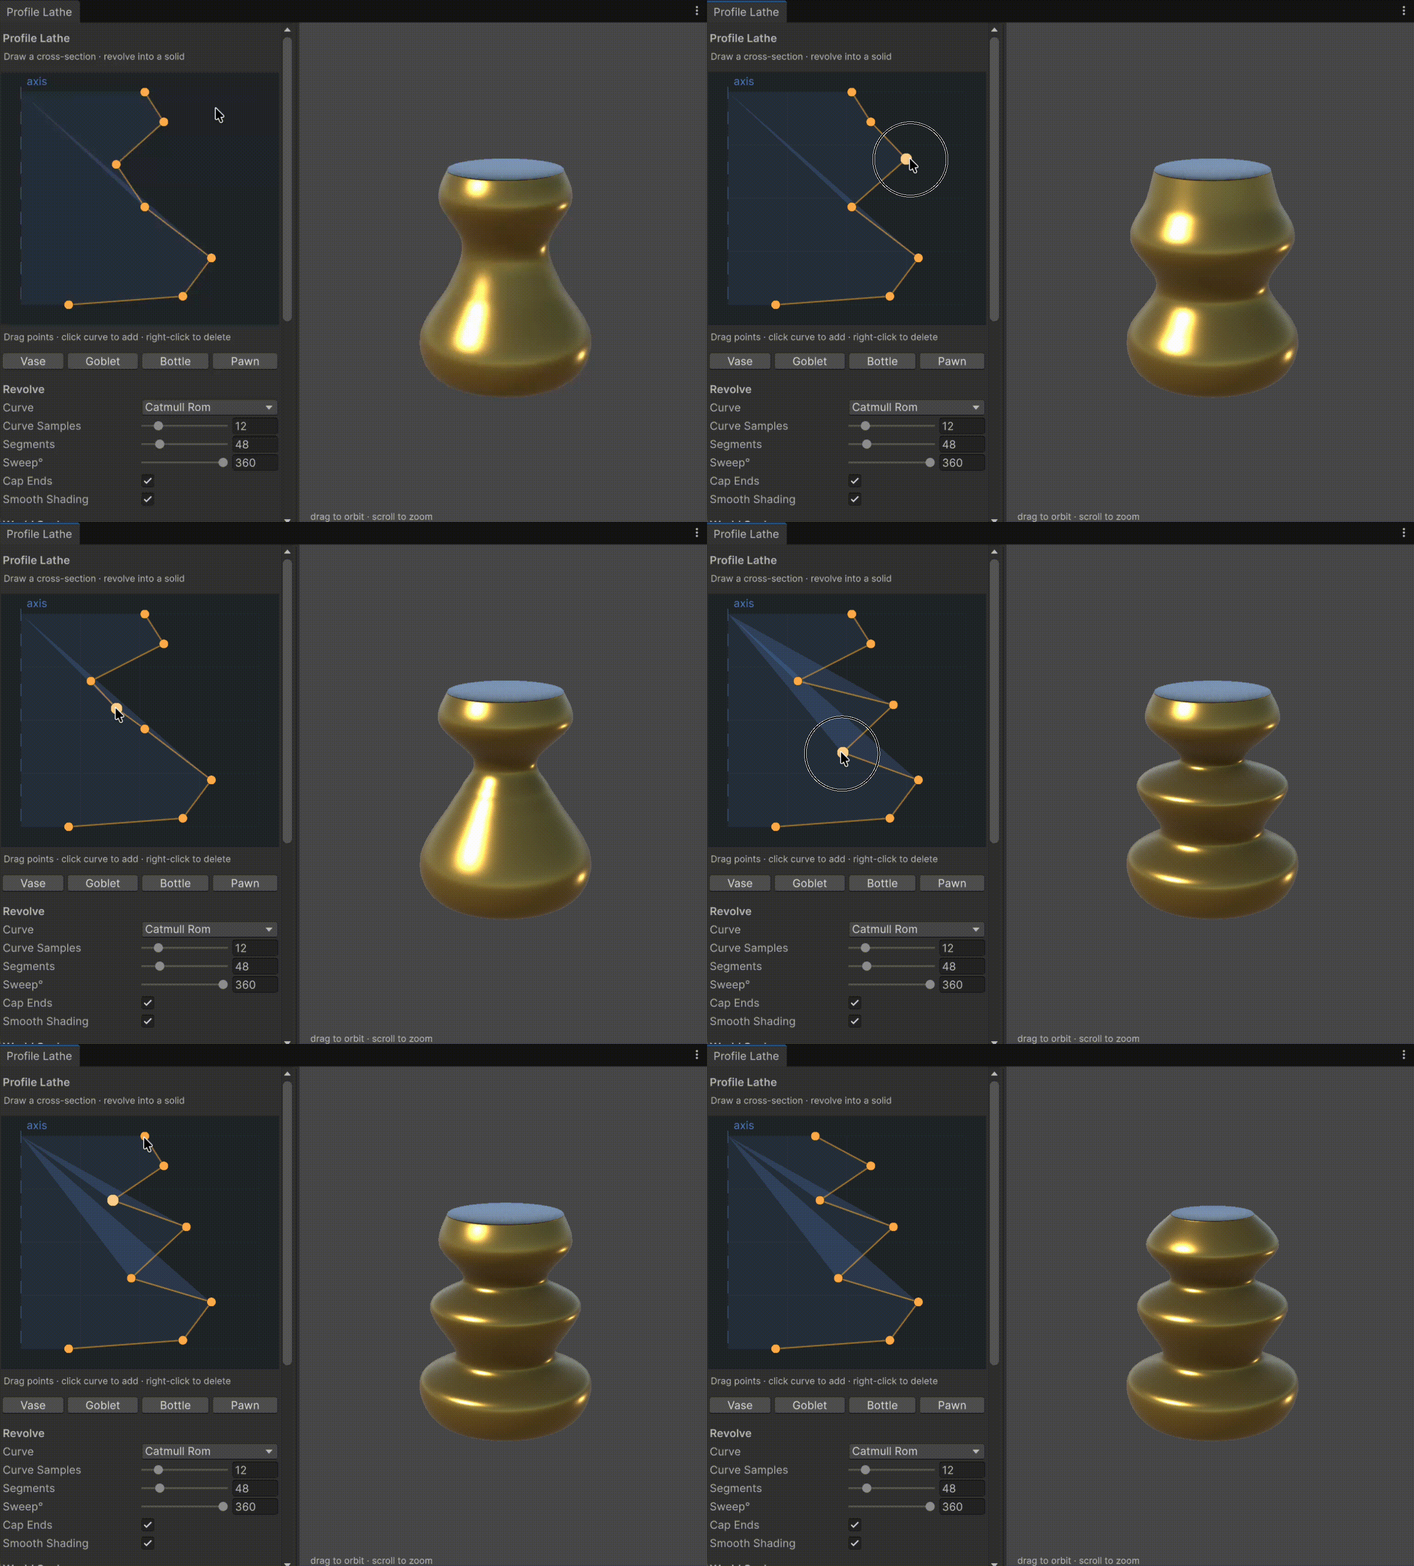
The most important call was making the cross-section directly editable. Rather
than exposing an array of numbers, the left panel is a draggable curve canvas:
drag points to reshape, click the curve to add a point, right-click to delete.
It supports both straight segments and Catmull-Rom interpolation for smooth,
organic silhouettes. This is what makes the tool feel like a tool rather than a
configured primitive.
A self-contained live preview
The preview renders through its own PreviewRenderUtility scene — its own
camera and lights — so it never disturbs the user’s open scene, and the orbit
and zoom state persists across edits. An earlier version leaned on Unity’s
built-in GameObject preview, but its hidden mesh caching fought every rebuild;
owning the preview outright was simpler and more predictable.
Procedural relief without geometry
Vertical flutes are added as a baked tangent-space normal map rather than real
geometry. A procedural height field is run through a Sobel filter to recover
surface gradients, packed into a repeating normal texture that tiles seamlessly
around the revolve. It’s the same technique used for terrain detail normals,
generalized to a procedural source — detail at any view distance for zero extra
triangles.
How the revolve works
The cross-section is a list of (radius, height) points. For each of N angular
steps the builder rotates the entire section and emits one ring of vertices;
adjacent rings are stitched into quads with consistent winding so normals face
outward. A full 360° sweep reuses the first ring as the last so there’s no
doubled seam; a partial sweep adds a terminating ring instead. Triangle fans cap
the ends, and smooth shading averages normals while flat shading splits vertices
per face.
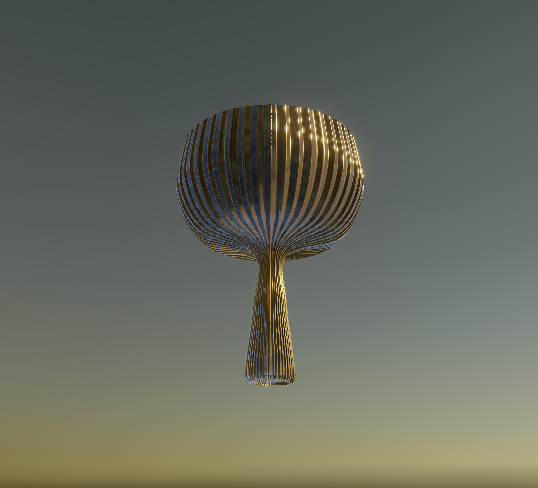
A deliberate limitation The mesh is a single-walled shell — a goblet is hollow because there’s only one
surface. I close that visual gap with a double-sided material rather than
generating interior walls, because a shell covers the large majority of lathe
shapes and the trade was worth the simplicity. True wall thickness is the planned
next step.
Reflections & Growth
What I learned
Building Profile Lathe pushed me deeper into Unity’s editor scripting — IMGUI
interaction handling, custom preview rendering, and the asset pipeline for
generating meshes, materials, and prefabs from code. Porting the revolve and
normal-bake math from a quick browser prototype into clean, separated C# also
reinforced how much a tool’s value lives in its authoring UX, not just its
algorithm.
Alignment with my goals as a technical artist
Authoring tools that let artists work faster sit right at the center of
technical art, and a procedural mesh generator with a real editing surface is a
focused example of that. The runtime/editor separation and the open-source
packaging were practice at shipping something other developers could actually
pick up and use.