Overview
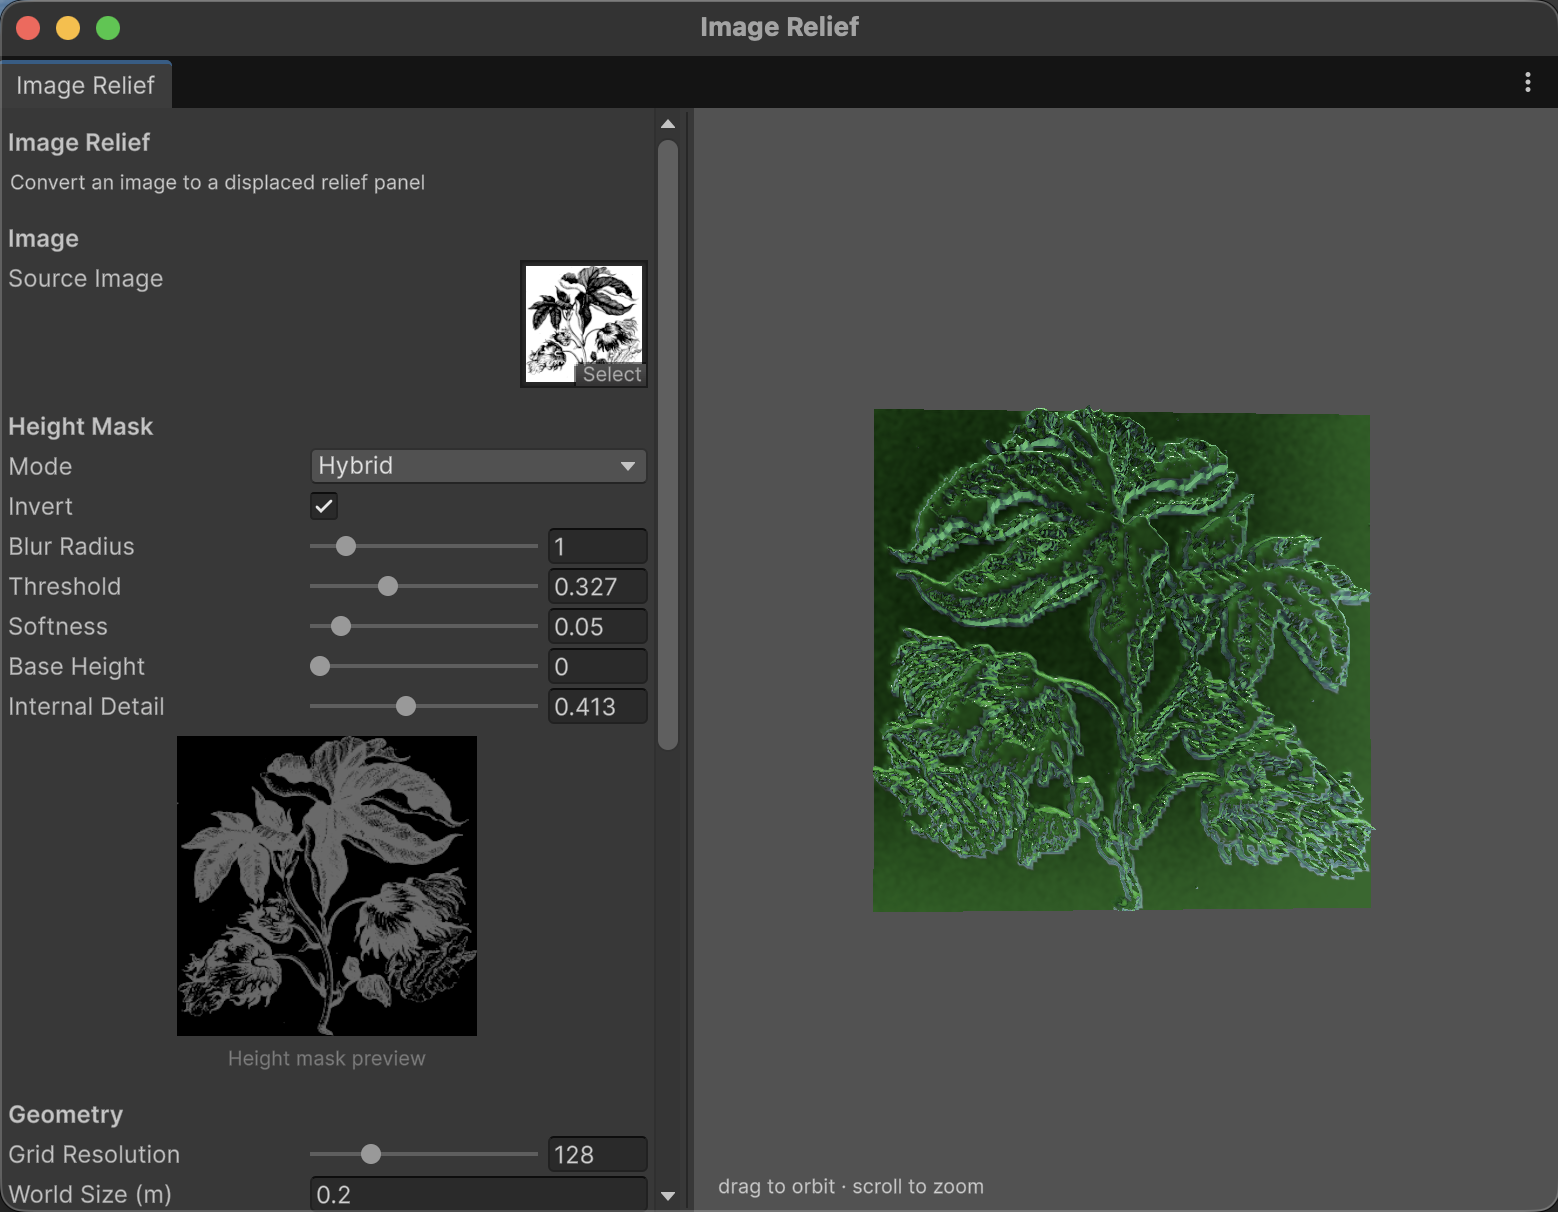
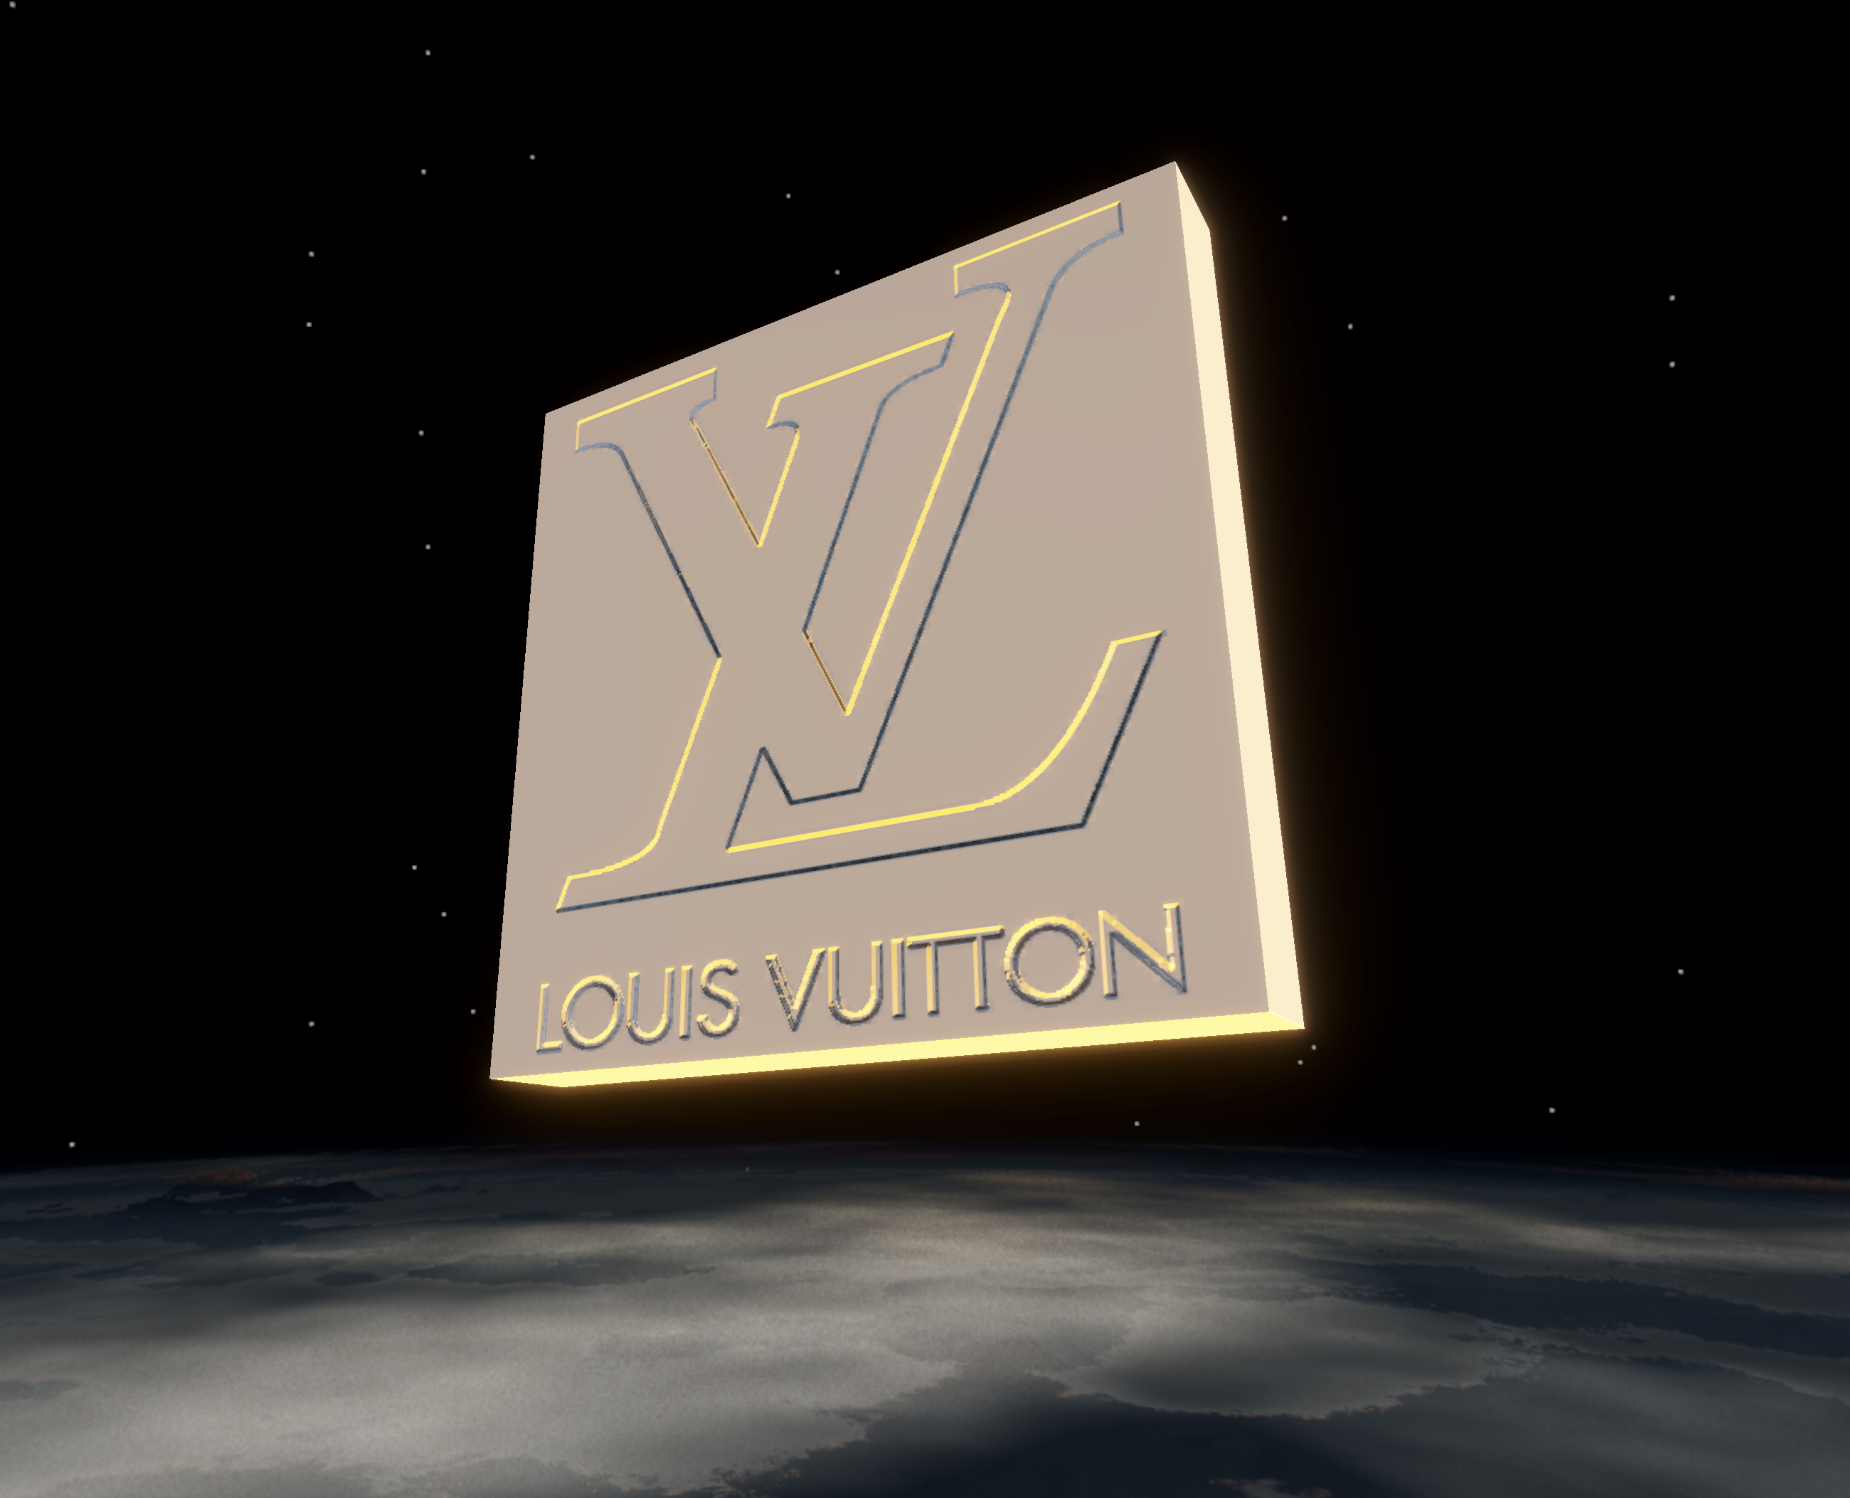
Image Relief is a Unity editor tool that turns any image into a physical-feeling
bas-relief panel — a flat slab where brighter pixels rise and darker pixels
recede. Drop in a source image, adjust how brightness maps to height, and the
tool builds a displaced mesh grid and a Sobel-derived normal map in real time.
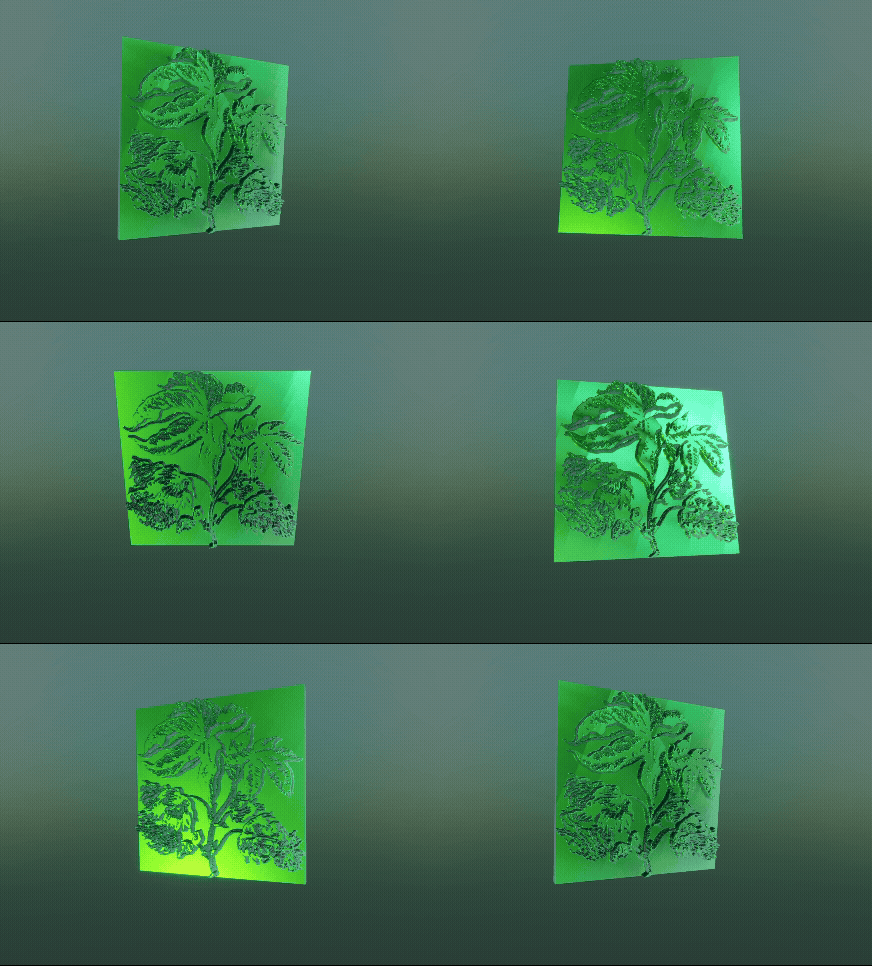
When the result looks right, a single button exports the mesh, material, and
prefab ready to drop into a scene.
The use case is props that should read as carved, cast, or stamped, like stone
inscriptions, metal emblems, decorative panels, architectural ornament, where
the shape comes from an image rather than hand-modeled geometry.
The tool grew directly out of the normal-map baking step in
Profile Lathe, generalized from procedural flute
patterns to arbitrary image input.
Design decisions
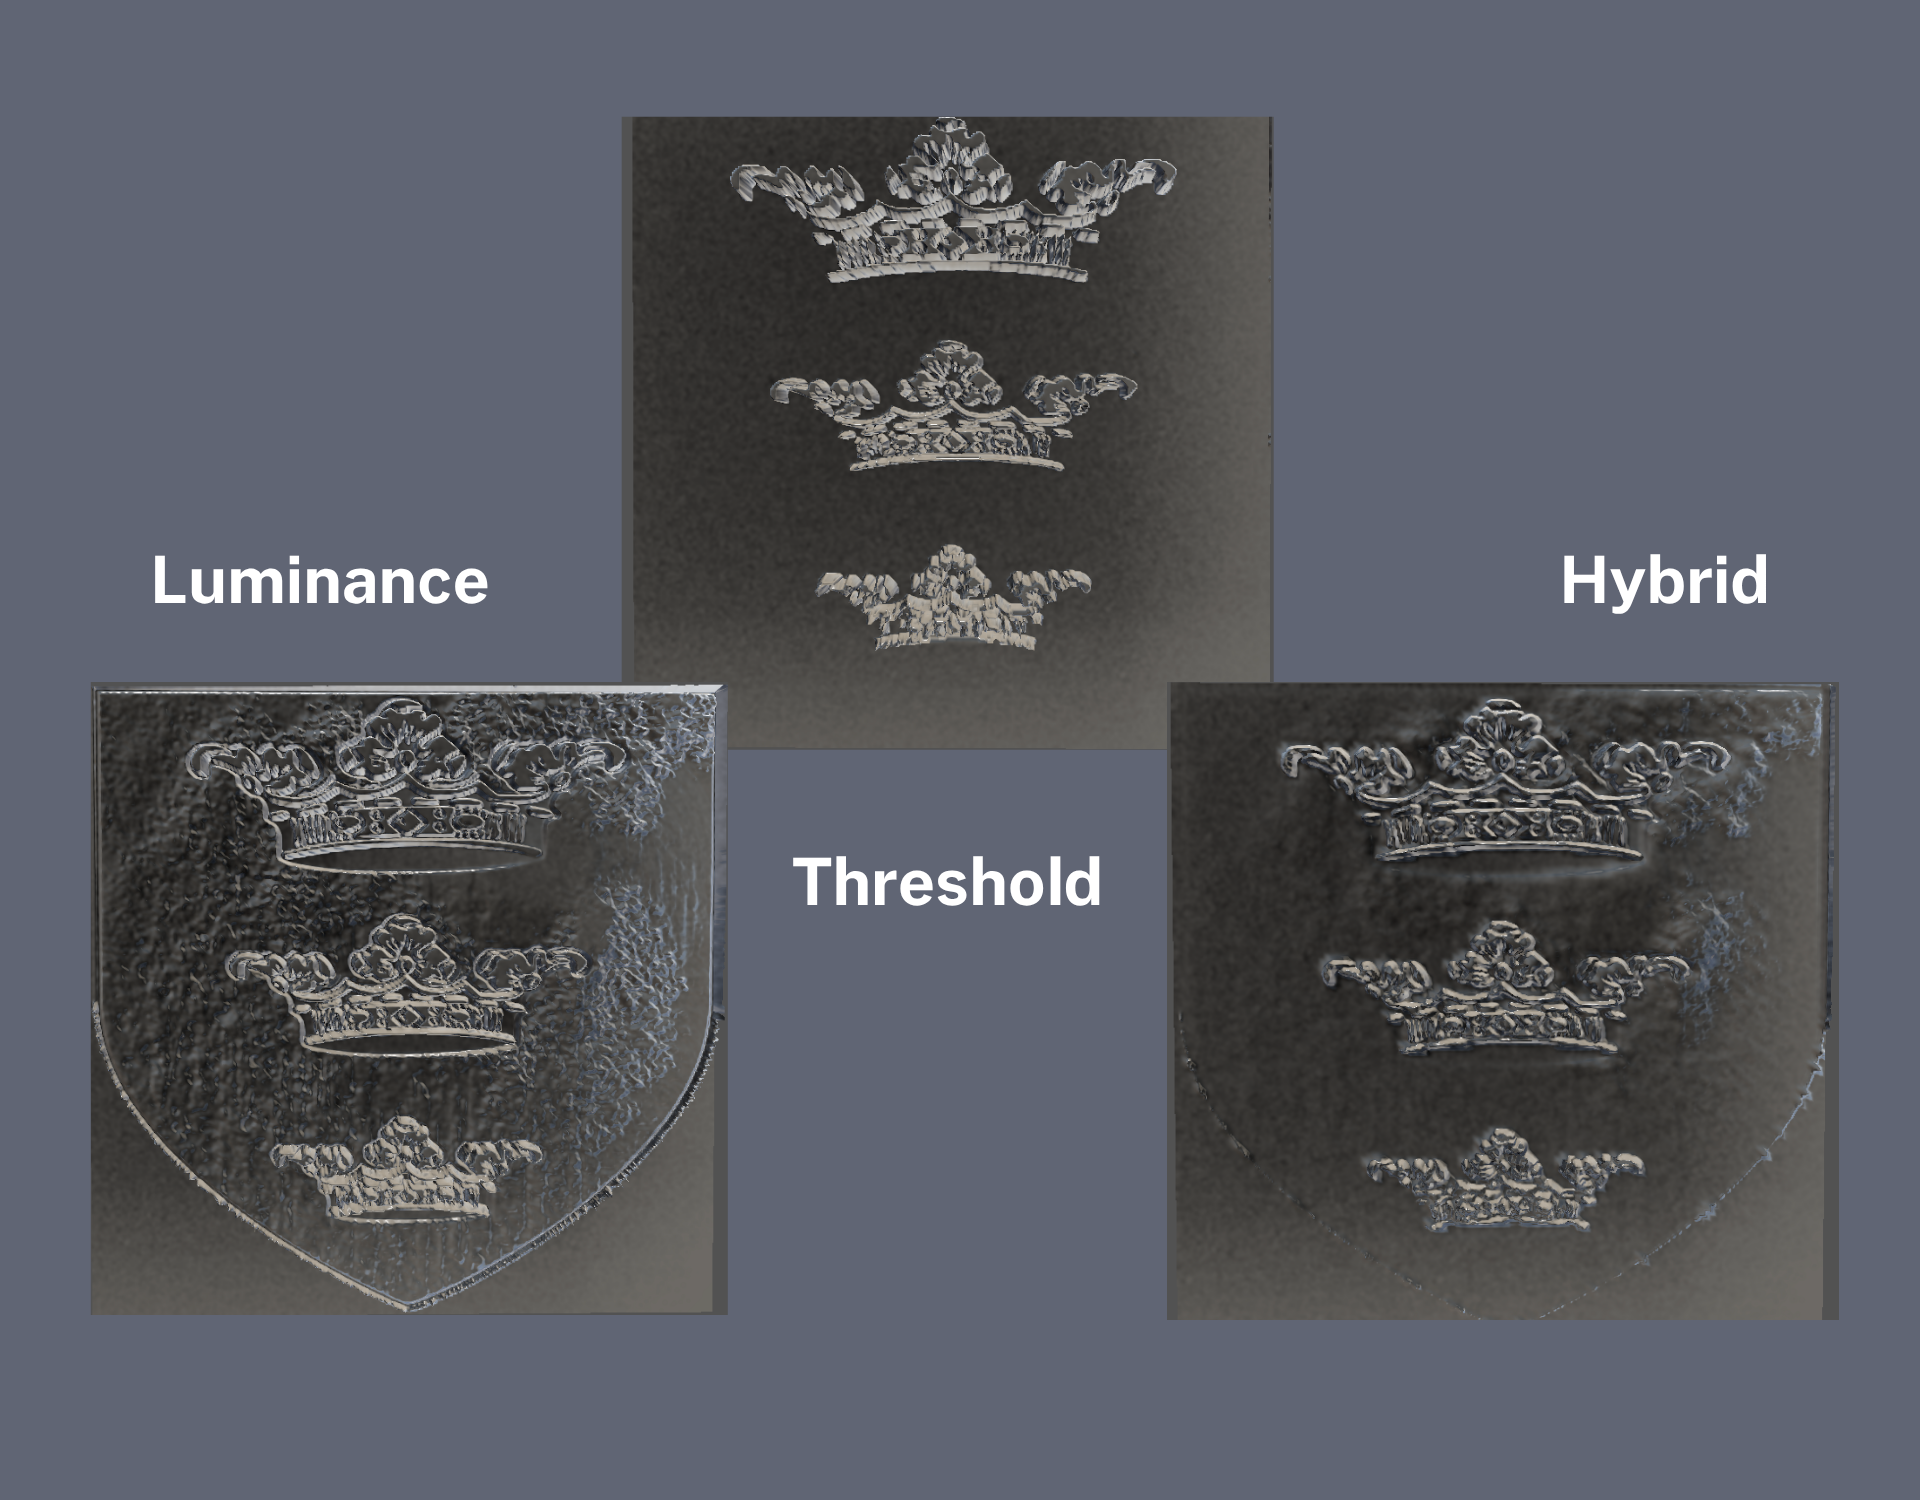
Three height-mask modes The core question is how pixel brightness becomes mesh height, and the answer
depends on the source image. A greyscale gradient photograph needs a different
mapping than a flat logo with a white shape on black. The tool exposes three
modes rather than one: Luminance maps brightness directly to height (smooth,
good for photographic sources); Threshold produces a hard binary
raised/not-raised shape with a softness falloff (good for logos and silhouettes);
Hybrid uses the threshold to define the shape while letting internal
luminance add surface detail within it. Choosing the right mode for the source
material is the main authoring decision.
Seeing the height field before it becomes geometry
The left panel shows a live greyscale preview of the height field as a flat
2D image. The mapping from source pixels to height (especially with blur,
inversion, and softness in play) isn’t always obvious from the controls
alone. Seeing the mask directly tells you what the mesh will be before it’s
built, and makes tuning Threshold softness or Hybrid internal detail a visual
operation rather than a guessing game.
Throttled normal baking
The mesh rebuilds on every control change so the geometry always reflects the
current settings. Normal map baking is deferred to mouse-up: Sobel-filtering
a full-resolution height field on every slider tick would stall the editor,
but the preview stays useful during a drag — correct geometry, slightly
outdated lighting. Baking on release keeps the interaction responsive without
hiding the result.
Optional base slab
By default the tool produces a single displaced surface — enough for a panel
mounted flush to a wall. Enabling the base slab adds a flat back face and a
perimeter skirt, making the result a closed solid that looks physically
grounded from any viewing angle. The skirt uses the border vertex positions
from the front face, so the depth of the displacement is always reflected in
the side profile.
How the pipeline works
The source image is read into a per-pixel luminance array, run through an
optional separable box blur to soften high-frequency noise, then mapped to a
normalized [0, 1] height field by the selected mode. Threshold and Hybrid
both use a smooth-step falloff around the cutoff so the transition between
raised and flat is tunable rather than aliased.
The height field drives two outputs in parallel. The mesh bilinearly
samples the field at each grid vertex and displaces it along +Z by
height × heightScale. The longer image axis maps to the configured resolution
in cells; the shorter axis scales proportionally so the mesh always matches the
source image’s aspect ratio. The normal map runs a 3×3 Sobel kernel over
the height field, reconstructs the surface gradient at each texel, and packs
the result into a tangent-space normal texture. The strength control scales the
gradient before normalization, giving independent control over how
contrast-y the lighting reads relative to how far the geometry actually moves.
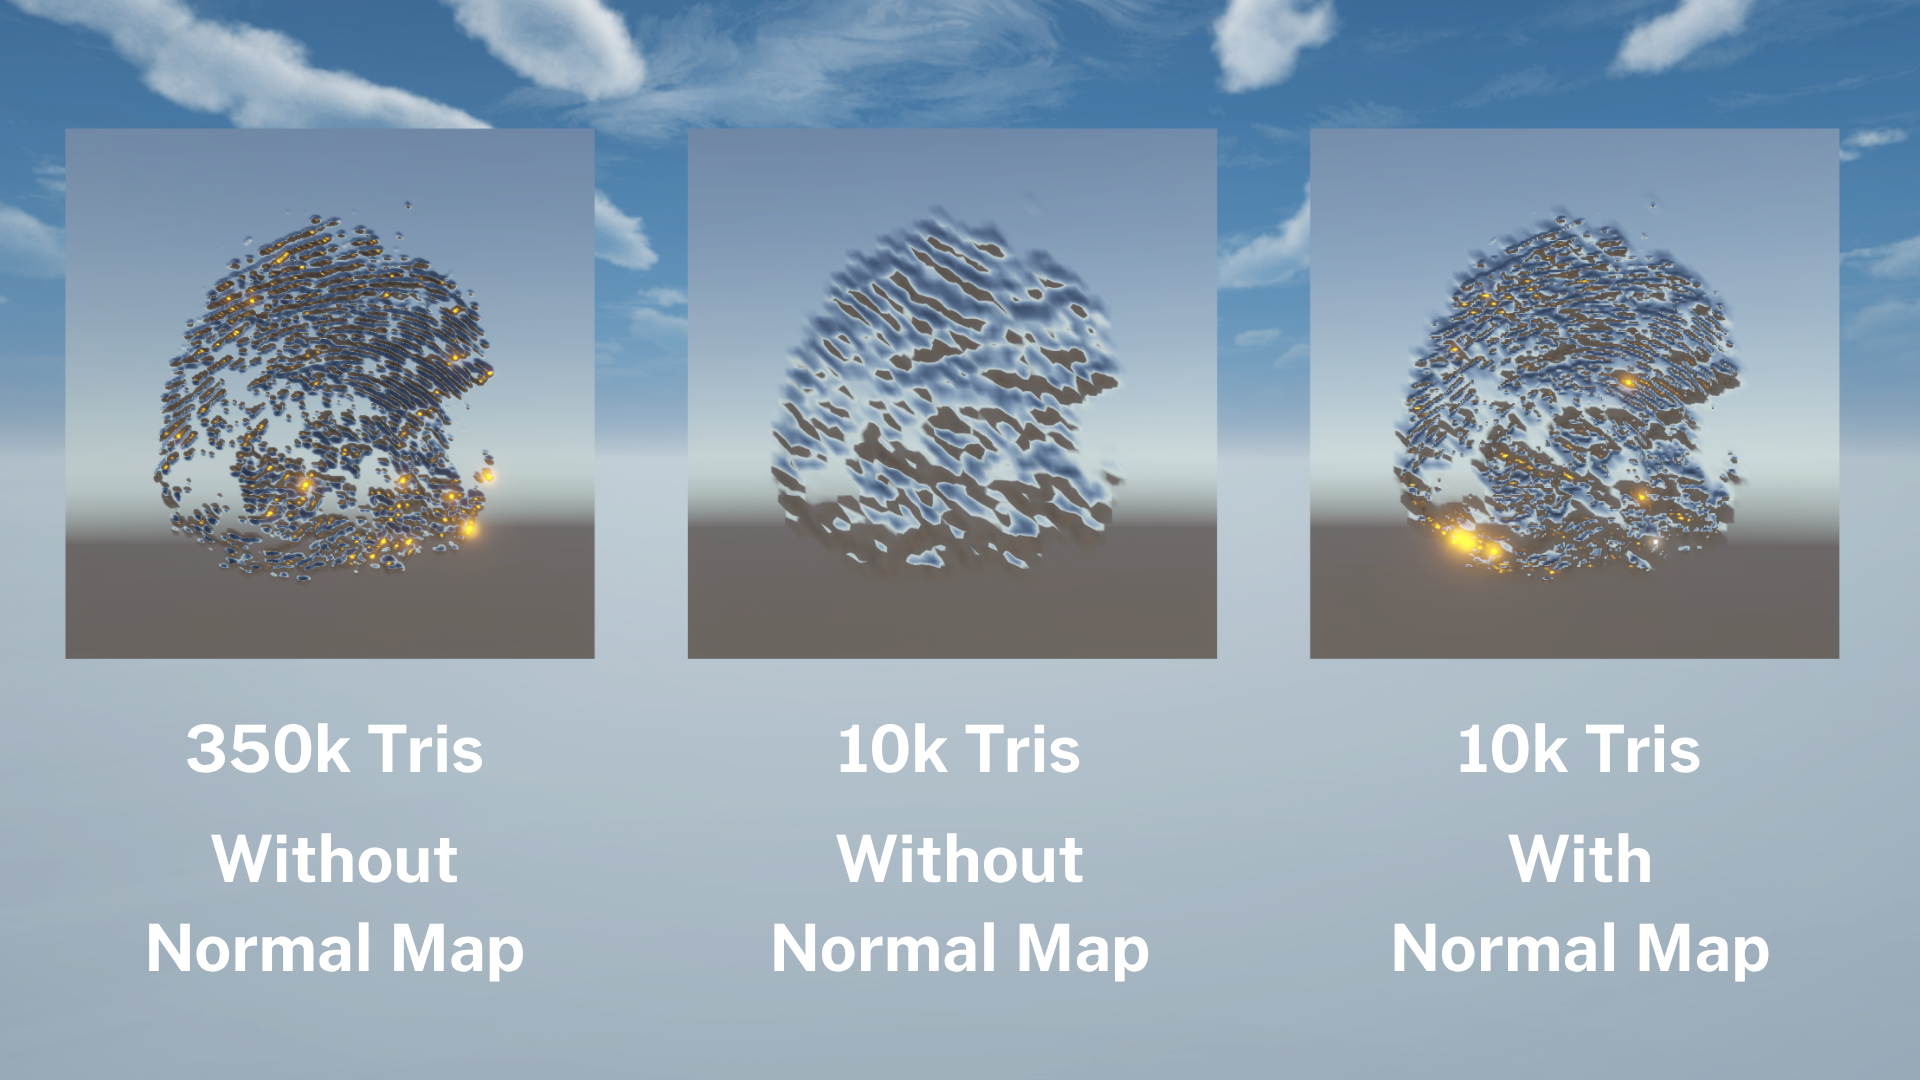
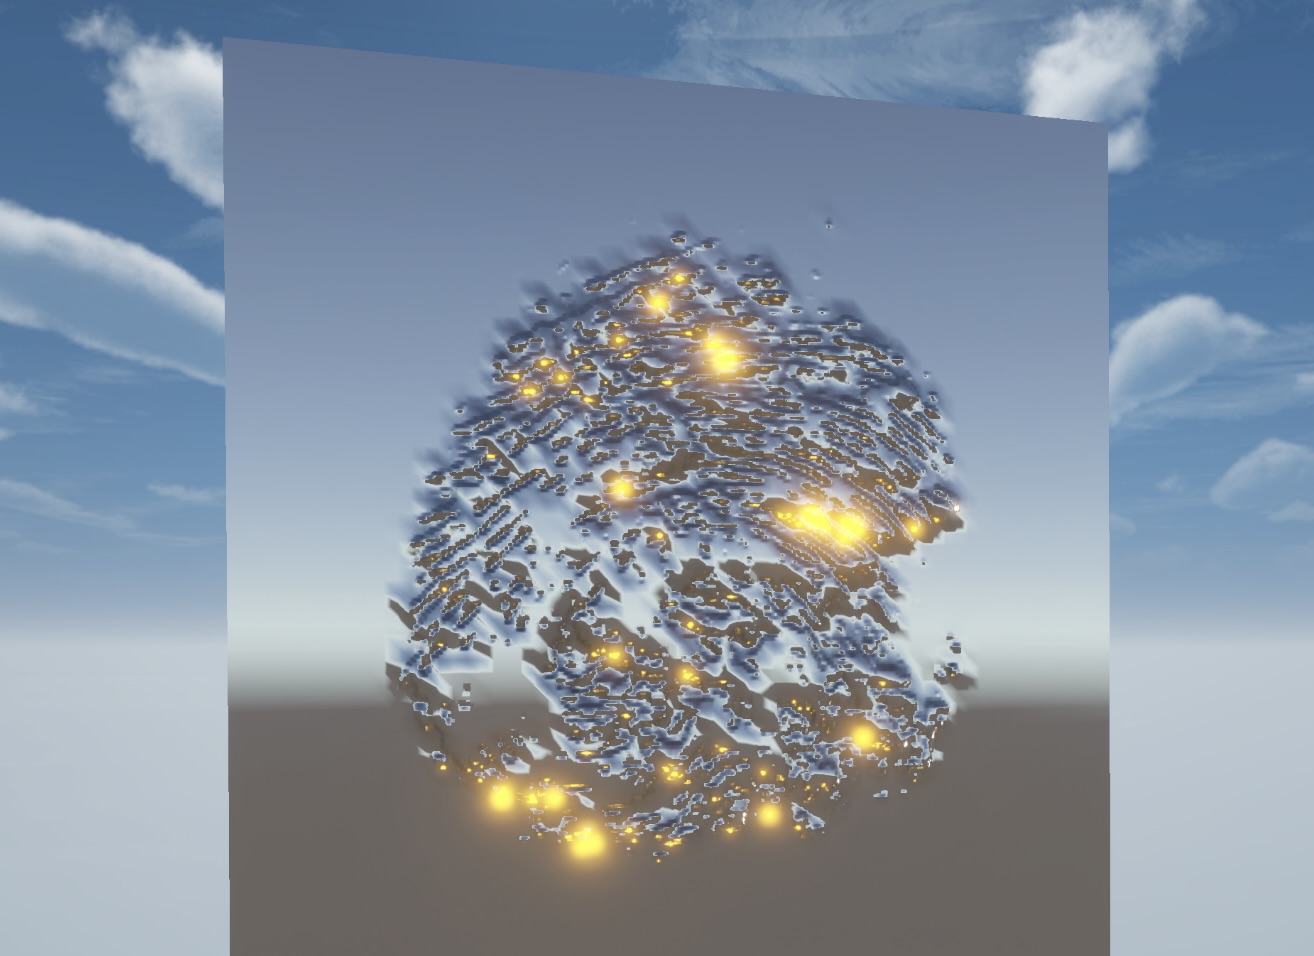
The geometry only needs to carry the silhouette and large forms; the normal
map restores the fine ridges the lower-resolution grid drops. The comparison
above makes the case: a 10k-triangle panel with the baked map reads almost
identically to a 350k-triangle panel without one, at a fraction of the cost.
One-click readability fix Unity textures are not CPU-readable by default, which would silently block
pixel access. Rather than failing or surfacing a raw error, the tool detects
the import setting at load time and shows a warning with a “Make Readable”
button that reimports the texture with the flag enabled. It’s a minor UX
detail, but removing that friction point is the difference between a tool
that teaches you its error messages and one that gets out of the way.
Reflections & Growth
What I learned
Image Relief pushed the image-processing side of technical art work — reading
pixels, building separable blur passes, and wiring Sobel gradients into normal
encoding. Deciding where to draw the line between the height mask (the 2D
representation) and the mesh and normal map (the 3D outputs) ended up being the
main architectural question, and keeping those as distinct stages made it
straightforward to preview the mask independently before committing to a rebuild.
Alignment with my goals as a technical artist
Relief panels and surface detail are a recurring prop-art problem in games, and
a tool that solves it from a 2D source image — something artists already have —
is a direct productivity gain. The connection back to Profile Lathe reinforced
the value of extracting reusable subsystems: the normal-baking code is genuinely
shared, not copy-pasted.